2026 Top Valve Body Gasket Types Which One Should You Buy?
Choosing the right Valve Body Gasket in 2026 is not simply a matter of buying the most expensive option. Material, transmission design, fluid type, temperature, bolt load, and surface condition all influence sealing performance. A gasket that works well in a low-temperature automatic transmission may fail quickly in a high-pressure hydraulic valve body.
John H. Bickford, a respected authority on bolted-joint engineering, stated, “The gasket is the weakest link in a bolted joint.” This warning remains practical today. A valve body may look clean, yet small scratches, distorted bolt holes, or uneven tightening can create leakage paths. Paper, cork-rubber, molded rubber, composite, graphite, and metal-reinforced designs each offer different advantages. Some seal easily. Others tolerate heat and pressure better.
There is no universal winner.
This guide compares the leading Valve Body Gasket types for 2026. It examines sealing reliability, installation difficulty, fluid compatibility, durability, and total ownership cost. Real workshop conditions also matter. A perfect gasket can still fail after careless installation. That uncomfortable detail deserves attention.
Readers will learn when a low-cost composite gasket is reasonable, when molded rubber provides better repeatability, and when a reinforced design may justify its higher price. Manufacturer specifications should always lead the decision. Aftermarket convenience can be useful, but it should never replace accurate fitment checks. Even experienced technicians occasionally choose the wrong material. Careful verification remains the safer approach.
What a Valve Body Gasket Is and Why Its Design Matters
2026 Top Valve Body Gasket Types: Which One Should You Buy?
A valve body gasket seals the narrow interface between the valve body and transmission case. It separates fluid passages and keeps hydraulic pressure where engineers intended. Its design matters because one misplaced opening can redirect fluid and cause harsh shifting, slipping, or delayed engagement. Small details matter.
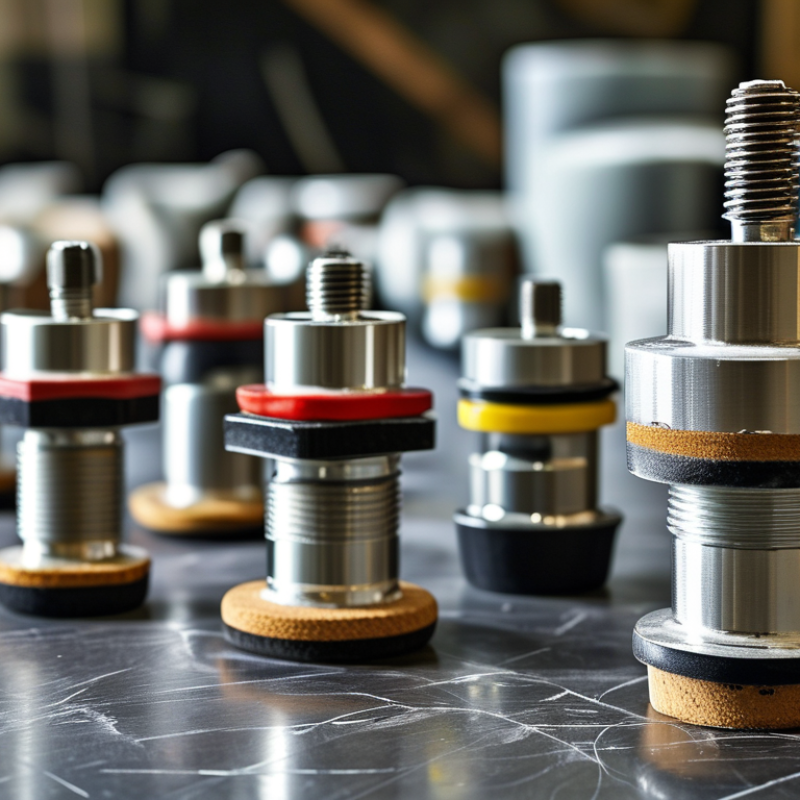
Common designs include fiber, molded rubber, metal-clad, and precision-cut composite gaskets. Fiber types can suit stable surfaces and moderate service conditions. Molded rubber designs often handle repeated compression more effectively. Metal-clad versions may resist heat and pressure, but they require accurate surface alignment. The best choice depends on the original design, fluid temperature, bolt pattern, and passage layout.
During repairs, I have seen clean-looking gaskets fail after installation. The real problem was often a blocked passage or uneven tightening. A gasket should match every hole exactly. Check the valve body and case for scratches, warping, and old material. Follow the specified tightening sequence and torque values. Do not add sealant unless the repair instructions allow it. That shortcut can contaminate small hydraulic passages. I once underestimated a tiny edge tear; it was enough to create an intermittent pressure fault. A careful inspection would have caught it. Surface condition deserves equal attention.
How to Compare Common Valve Body Gasket Types
When comparing common valve body gasket types, start with the transmission’s fluid, temperature, and sealing surface. Paper-composite gaskets are common and affordable. They fit rigid, clean surfaces well. However, they can tear during installation. They also dislike repeated removal. Cork-rubber gaskets compress easily and tolerate small surface imperfections. That sounds useful. Yet excessive bolt torque may crush them and distort the valve body.
Molded rubber gaskets offer consistent thickness and good resistance to automatic transmission fluid. Their raised sealing beads can compensate for minor irregularities. Check that the bead is flexible, not hardened or flattened. Metal gaskets provide strong dimensional stability under heat and pressure. They require smooth, accurately aligned surfaces. A bent metal gasket usually will not recover. Spiral-wound designs are less common in ordinary valve body service, but they suit demanding sealing conditions.
In my repair experience, fit matters more than material alone. I compare the bolt-hole pattern, fluid passages, thickness, and original sealing marks. I also inspect the valve body with a straightedge. A perfect gasket cannot fix a warped surface. One mistake is using sealant to hide a poor fit. That shortcut can block narrow fluid passages. The service manual should control torque and tightening order. I once trusted a similar-looking gasket and had to reopen the assembly. Now I photograph the old gasket before removal and verify every passage twice. Availability matters too, but it should never replace correct material selection.
How to Choose the Right Valve Body Gasket for Your System
Choosing the right valve body gasket starts with the system, not the price. Identify the fluid, operating temperature, pressure, and cycling frequency. Oil, coolant, air, and chemical fluids require different sealing materials. A gasket that survives steady heat may fail during repeated temperature changes.
Measure the old gasket carefully. Check its thickness, bolt-hole spacing, sealing profile, and inner openings. Compare these dimensions with the valve body and service manual. Even a small mismatch can create leaks around narrow passages. Inspect the mating surfaces under bright light. Scratches, corrosion, or leftover sealant can prevent uniform compression.
Material selection also matters. Elastomer gaskets suit many moderate-temperature applications, while graphite or metal-reinforced designs handle harsher conditions. Confirm chemical compatibility from technical data, not guesswork. I have seen installers choose a harder gasket for strength, only to cause poor seating on a slightly uneven flange. Harder is not always better.
Consider the clamping method and tightening sequence. Uneven bolt loading can distort the gasket and valve body. Use a calibrated torque tool when specifications are available. Replace damaged fasteners and clean the joint without gouging the surface. Check for leakage after installation, then inspect again after the system reaches normal temperature. A perfect dry test can still miss a heat-related failure. Record the operating conditions and gasket material for future maintenance.
What to Check Before Buying and Installing a Gasket
Choosing a valve body gasket starts with identification, not price. Confirm the vehicle year, transmission code, pan shape, bolt count, and hole pattern. Small differences can cause major leaks.
Gasket material matters. Molded rubber usually handles repeated heat cycles well. Cork-rubber can seal uneven surfaces but may compress more over time. Paper or composite gaskets suit some older designs, while metal-reinforced versions resist distortion under pressure. Check the manufacturer’s service data for material and thickness. A thicker gasket is not automatically better.
Inspect the mating surfaces before installation. Remove old material with a plastic scraper, then wipe away fluid and lint. Avoid deep scratches around the valve body. They can create a leak path. Check the pan flange for bends, especially near bolt holes. I have seen careful installations fail because a pan edge remained slightly raised.
Use a new gasket unless the service procedure specifically allows reuse. Apply sealant only where the instructions require it. Too much can squeeze inside the transmission and restrict narrow passages. Install bolts by hand first. Tighten them in a cross pattern with a calibrated torque wrench. Do not guess the torque. After refilling the correct fluid, inspect the joint at operating temperature and verify the level on a flat surface. A short road test helps, but a second inspection is wiser.